Setting up IntelliJ for Go Development
Prerequisites
Installing the Go plugin for IntelliJ
Creating a new Go project
Opening an existing Go project
This tutorial will walk you through setting up your IntelliJ environment for developing in Go.
Prerequisites
Before you begin, ensure you have the following installed:
- IntelliJ IDEA (for more information, see the IntelliJ IDEA site)
- Go (for more information, see the Go documentation)
Installing the Go plugin for IntelliJ
Before creating or opening a Go project, you will first need to install the Go plugin.
- Open IntelliJ IDEA. Go to Settings > Plugins. Search for “Go”.
- Ensure the Go plugin is selected and click Install.
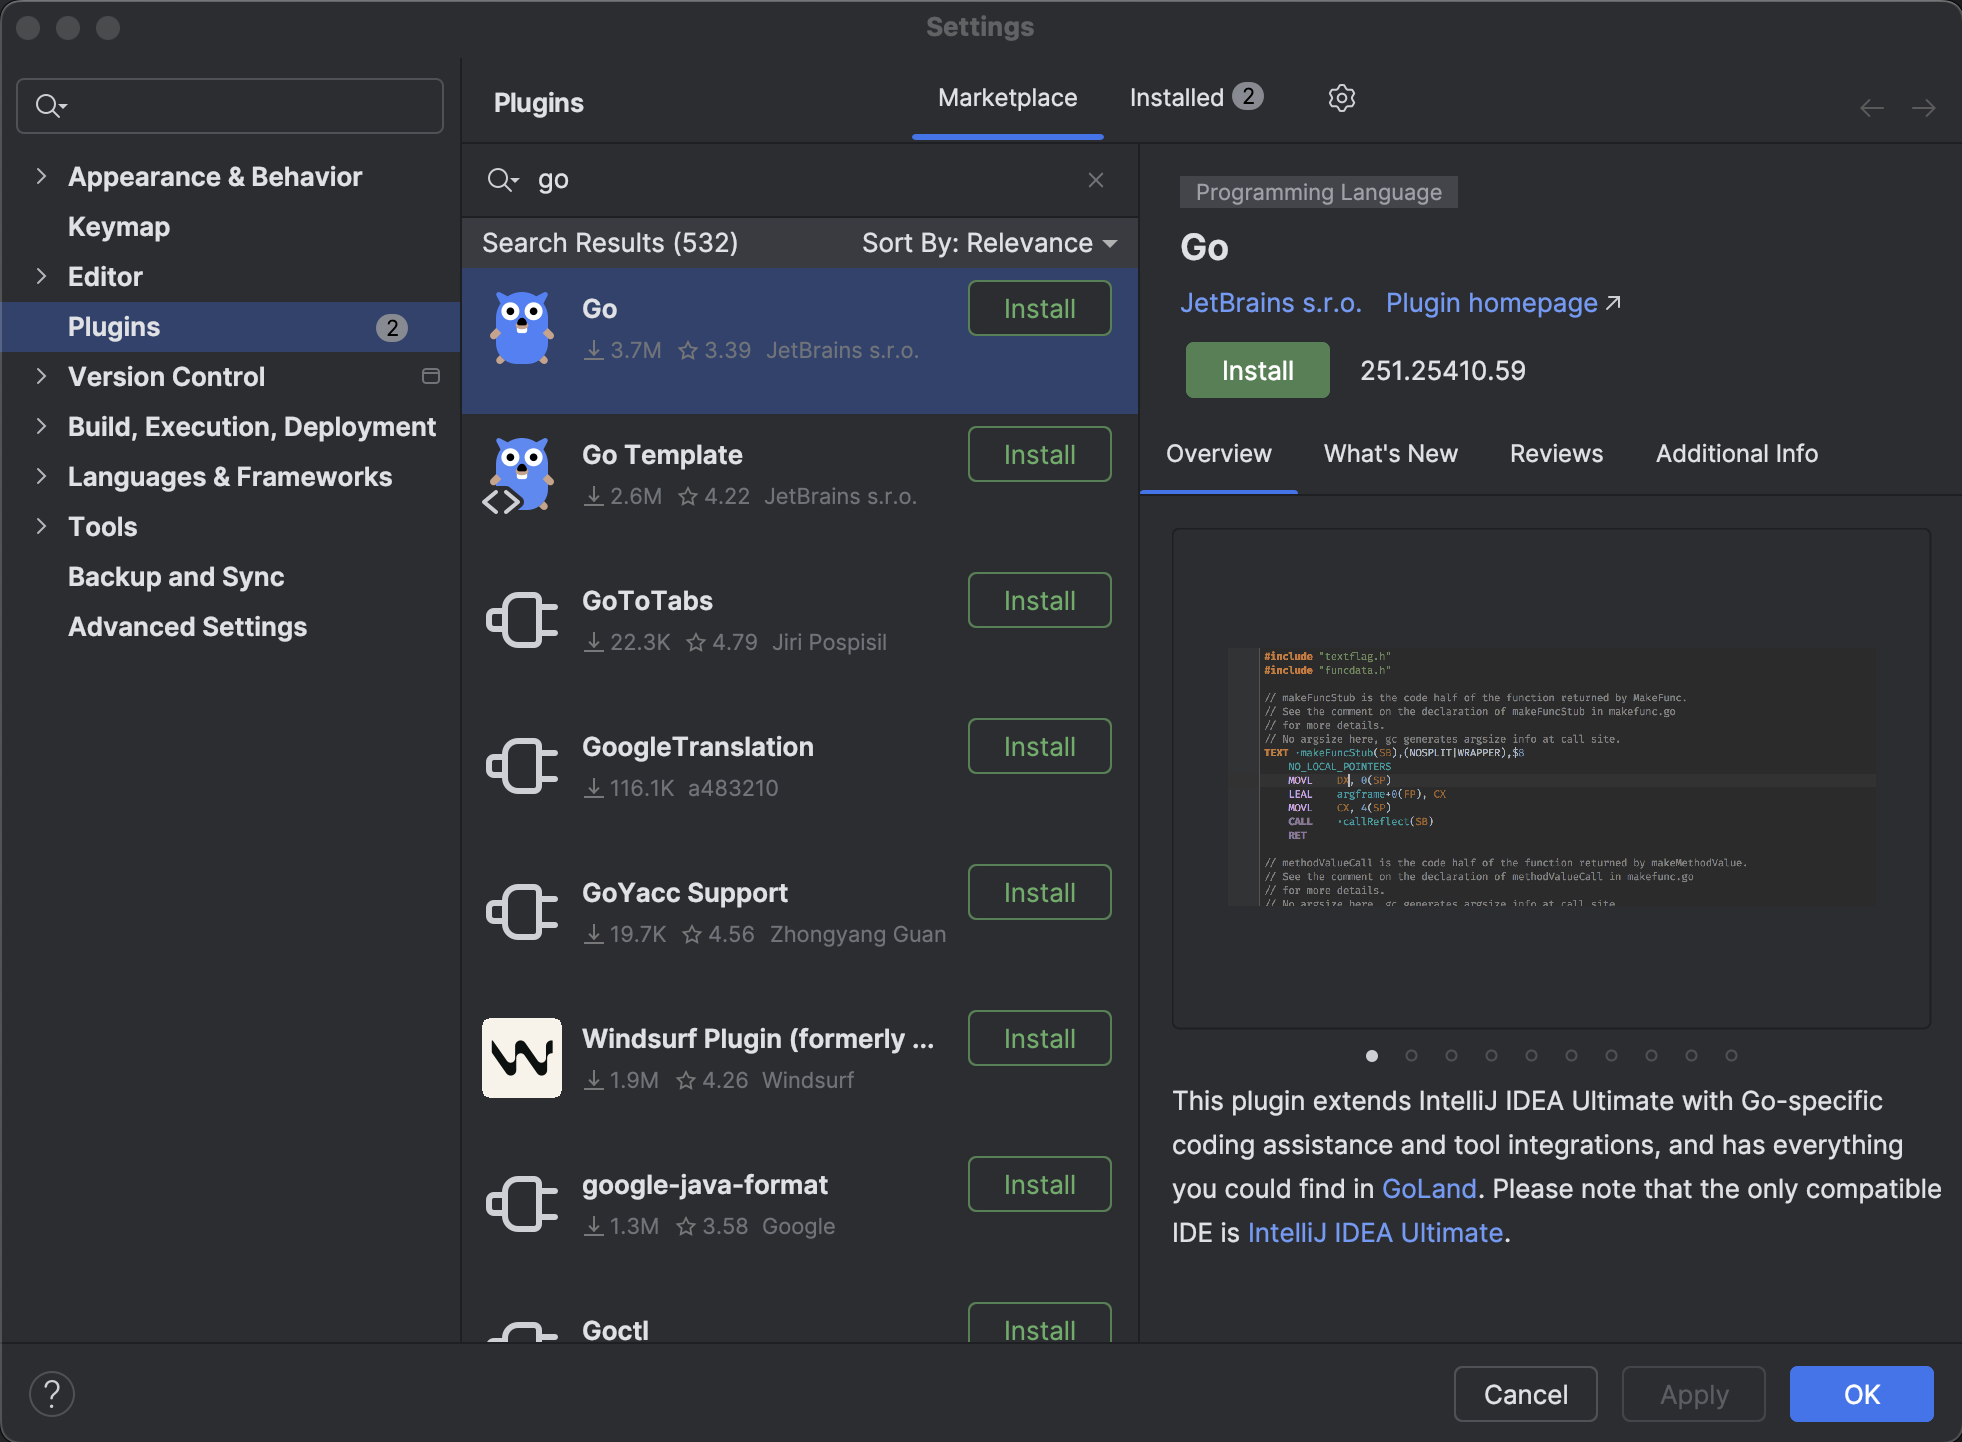
- Click Restart IDE. Follow the prompts to restart IntelliJ.
Creating a new Go project
To create and set up a new Go project, complete the following instructions:
- Open IntelliJ IDEA.
- Select New Project.
- In the left menu, select Go. Ensure that the GOROOT field points to your Go installation (i.e.
/usr/local/go).
⚠️ If the “Go” option doesn't appear, ensure the plugin is fully installed and IntelliJ has been restarted.
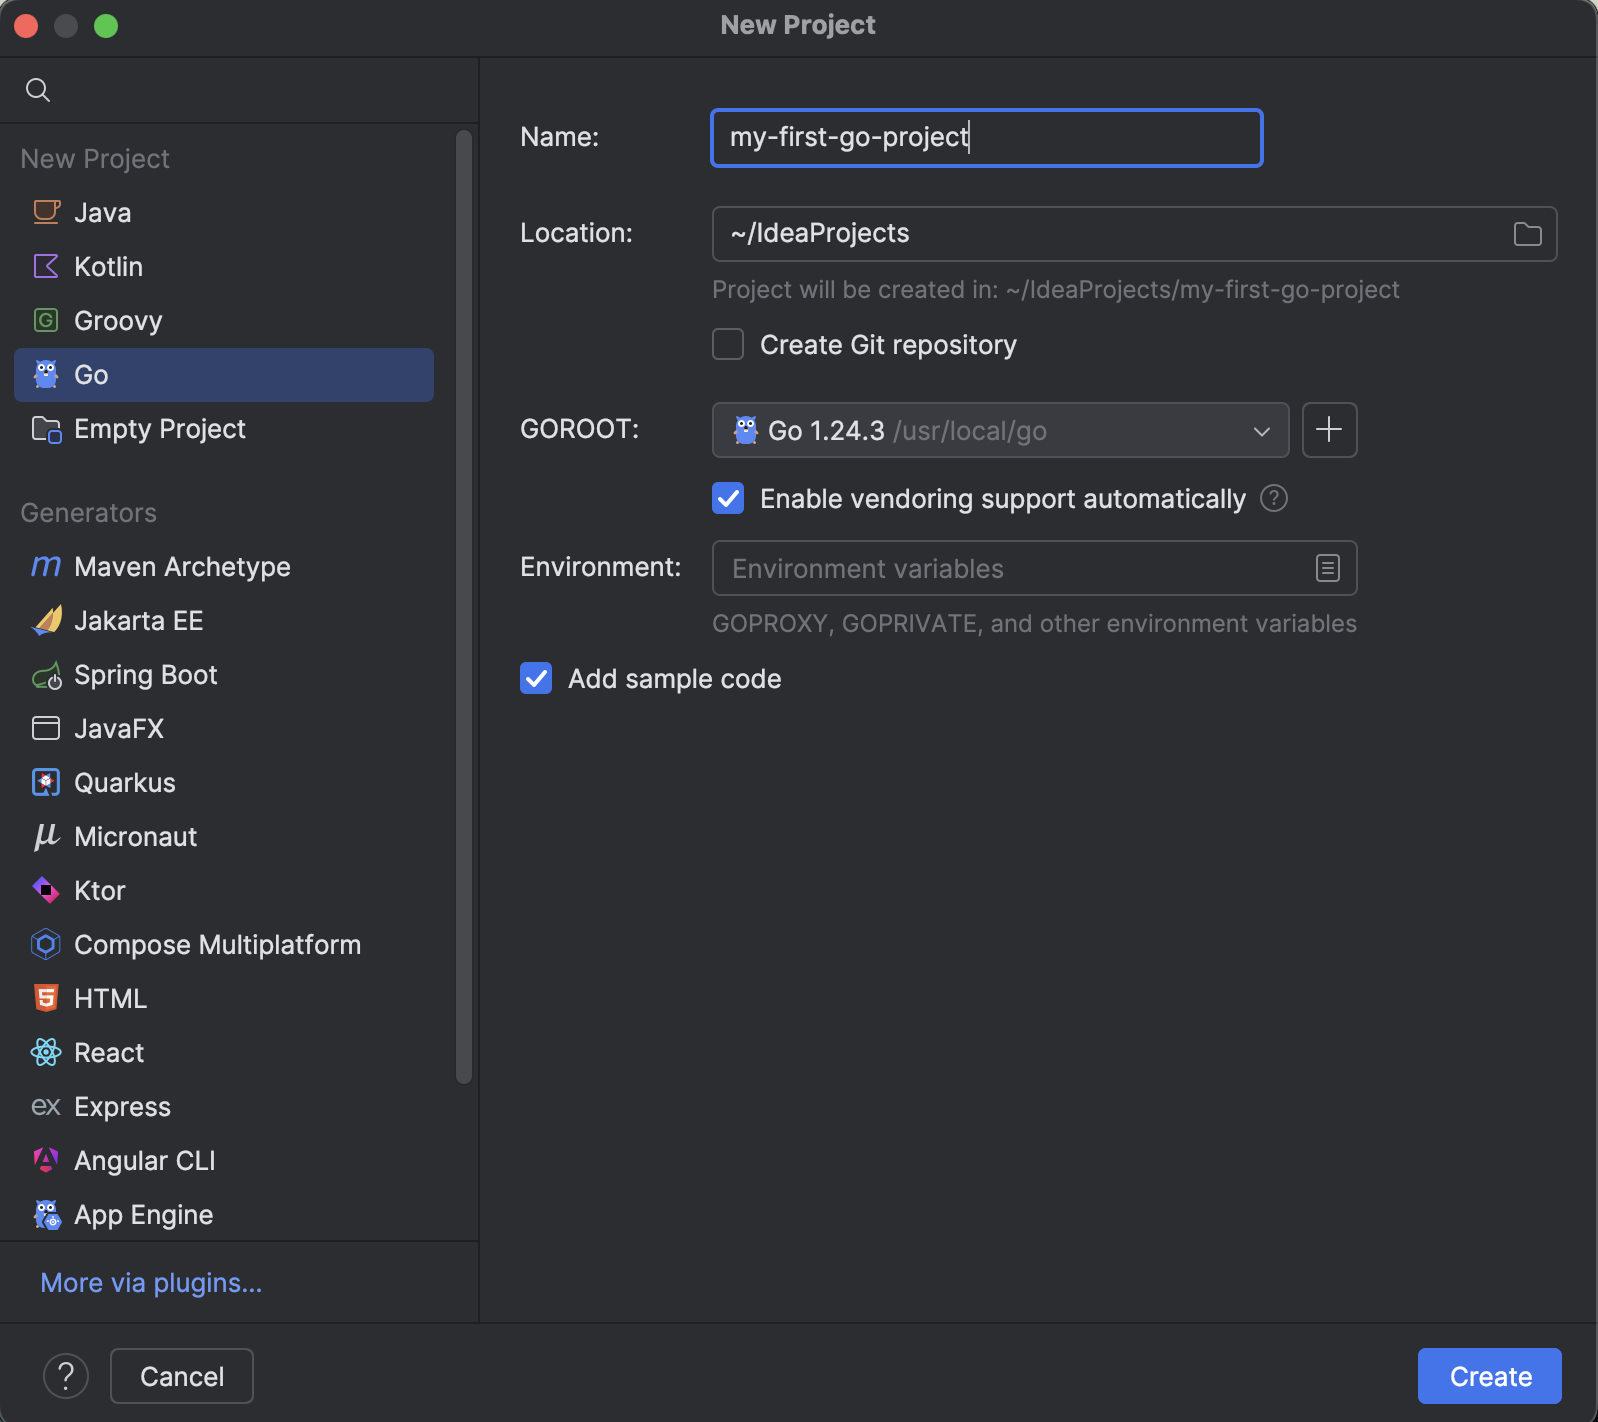
- Enter an appropriate name in the Name field. Click Create.
- IntelliJ creates a simple Go project with a sample main.go file. To run the project, click the green play button next to the
main()function definition. Click Run ‘go build <project_name>’.
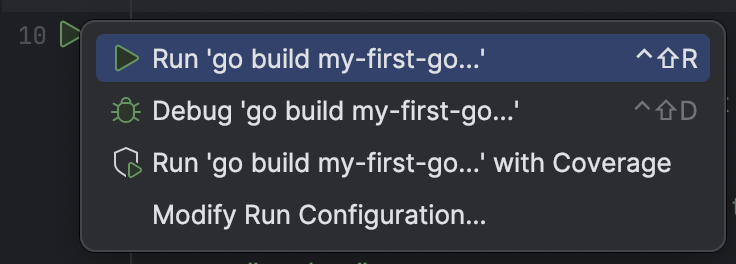
- The Go project is built and executed, printing output in the Run tool window.
Opening an existing Go project
- Go to File > Open.
- Navigate to your Go project directory and select it.
- IntelliJ will auto-detect the Go modules and SDK.
Summary
You have successfully set up IntelliJ IDEA for Go development. You can now create, run, and debug Go programs within your IDE.